How to Plan Coverage Before the Shoot


By Muhammad Wisal and Muhammad Ali / 7 min read
To plan coverage before the shoot, go through each scene and decide where the cuts will fall, which shots you need to make those cuts, and which of those shots you can drop if the day runs long. Write the result as a numbered list of setups in shooting order, check it against the time you have, and share it with your DP and 1st AD before the tech scout.
What does planning coverage mean?
Planning coverage means deciding in prep how many camera setups each scene gets, and why. Coverage is the set of angles you shoot of a scene so the editor can cut it together. If you are new to the term, start with our guide to coverage in film, which explains the standard shots. This article is about the planning itself: turning a script page into a setup list that fits a real shoot day.
Directors who skip this step tend to discover on set that they have twelve setups and time for seven. Then the cuts get made in a hurry, by whoever is loudest. A coverage plan moves those choices into prep, when you can think.
Who plans coverage, and when?
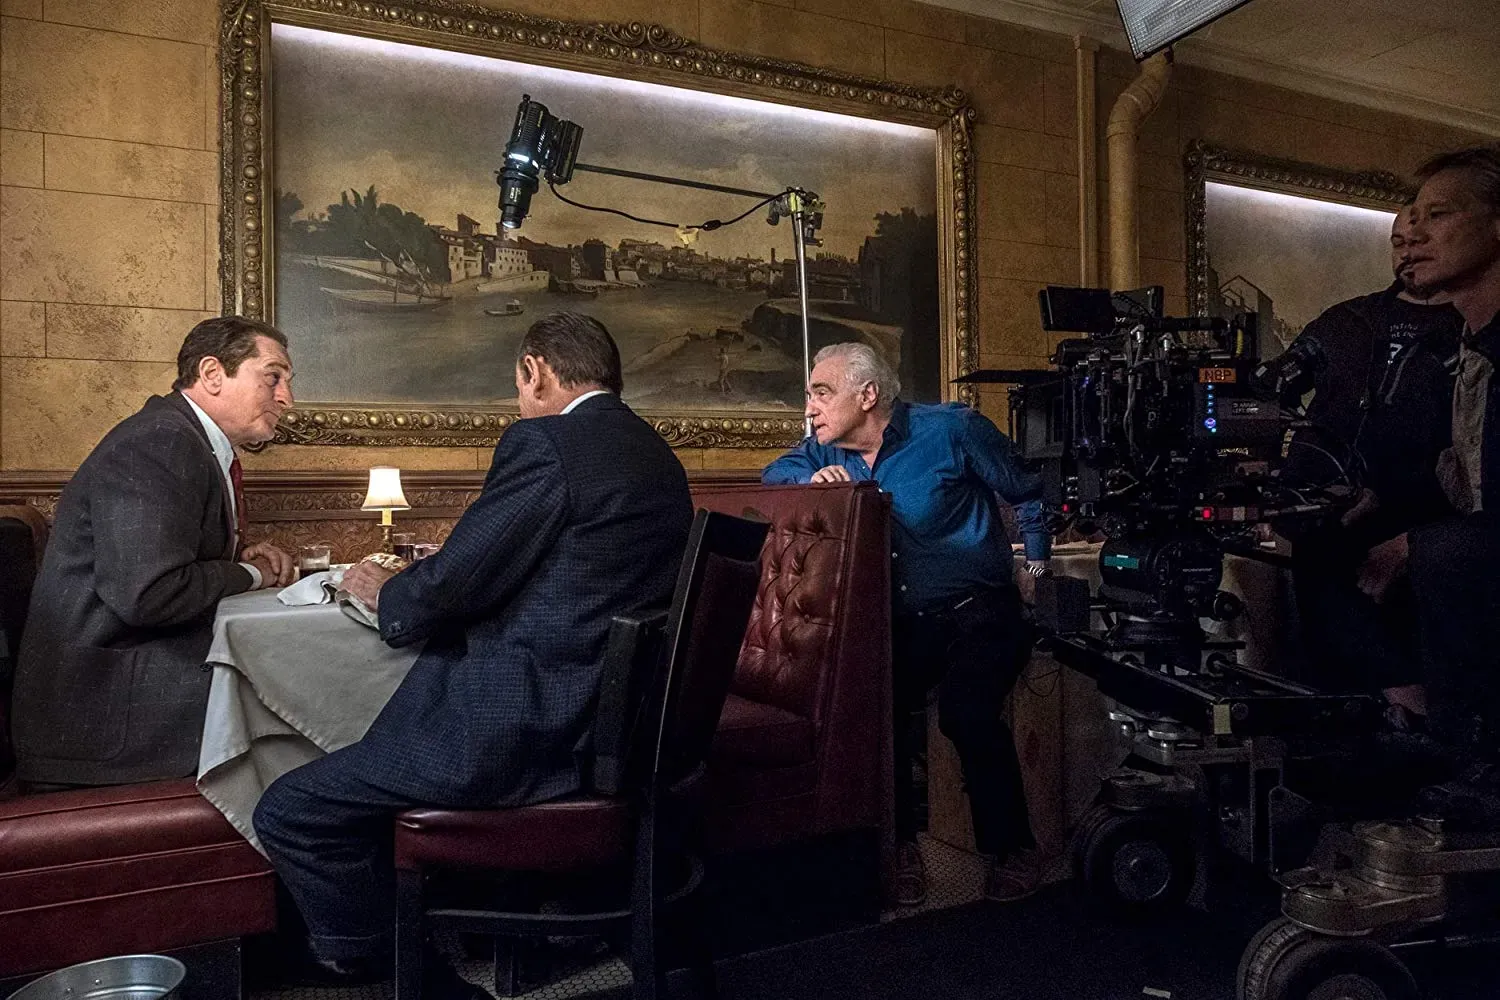
The director and the director of photography plan coverage together, usually after the script is locked enough to break down and before the tech scout. The director brings the story reasons (whose scene it is, where the turn happens). The DP brings the practical side (lighting direction, lens choices, how long each setup will take to light). The 1st AD then uses the setup count to build the schedule, because setups, more than pages, decide how long a scene takes to shoot.
How do you plan coverage for a scene, step by step?
- Find the turn in the scene. Read the scene and mark the moment where something changes: a decision, a reveal, a shift in power. That moment usually earns your tightest shot.
- Decide whose scene it is. The character with the most to lose usually gets the closer coverage. The other character may only need an over-the-shoulder.
- Pre-cut the scene on paper. Go line by line and write which shot you imagine on screen. Wide for the entrance, two-shot for the small talk, close-up on the turn. This is your edit in advance.
- Turn the pre-cut into setups. Group the shots by camera position. Every time the camera and lights move, that is a new setup. Two shots from the same position with a lens change can often count as one.
- Rank every setup. Mark each one A (cannot cut the scene without it), B (makes the scene better) or C (nice if there is time). You will thank yourself at 6 PM.
- Order the setups for shooting. Shoot every setup facing one direction, then turn around. Go wide to tight within each direction so lighting changes are small.
- Check the plan against the day. Ask your DP how long each setup will take with your crew and gear. Add rehearsal and resets. If the total does not fit, cut C setups first, then combine B setups.
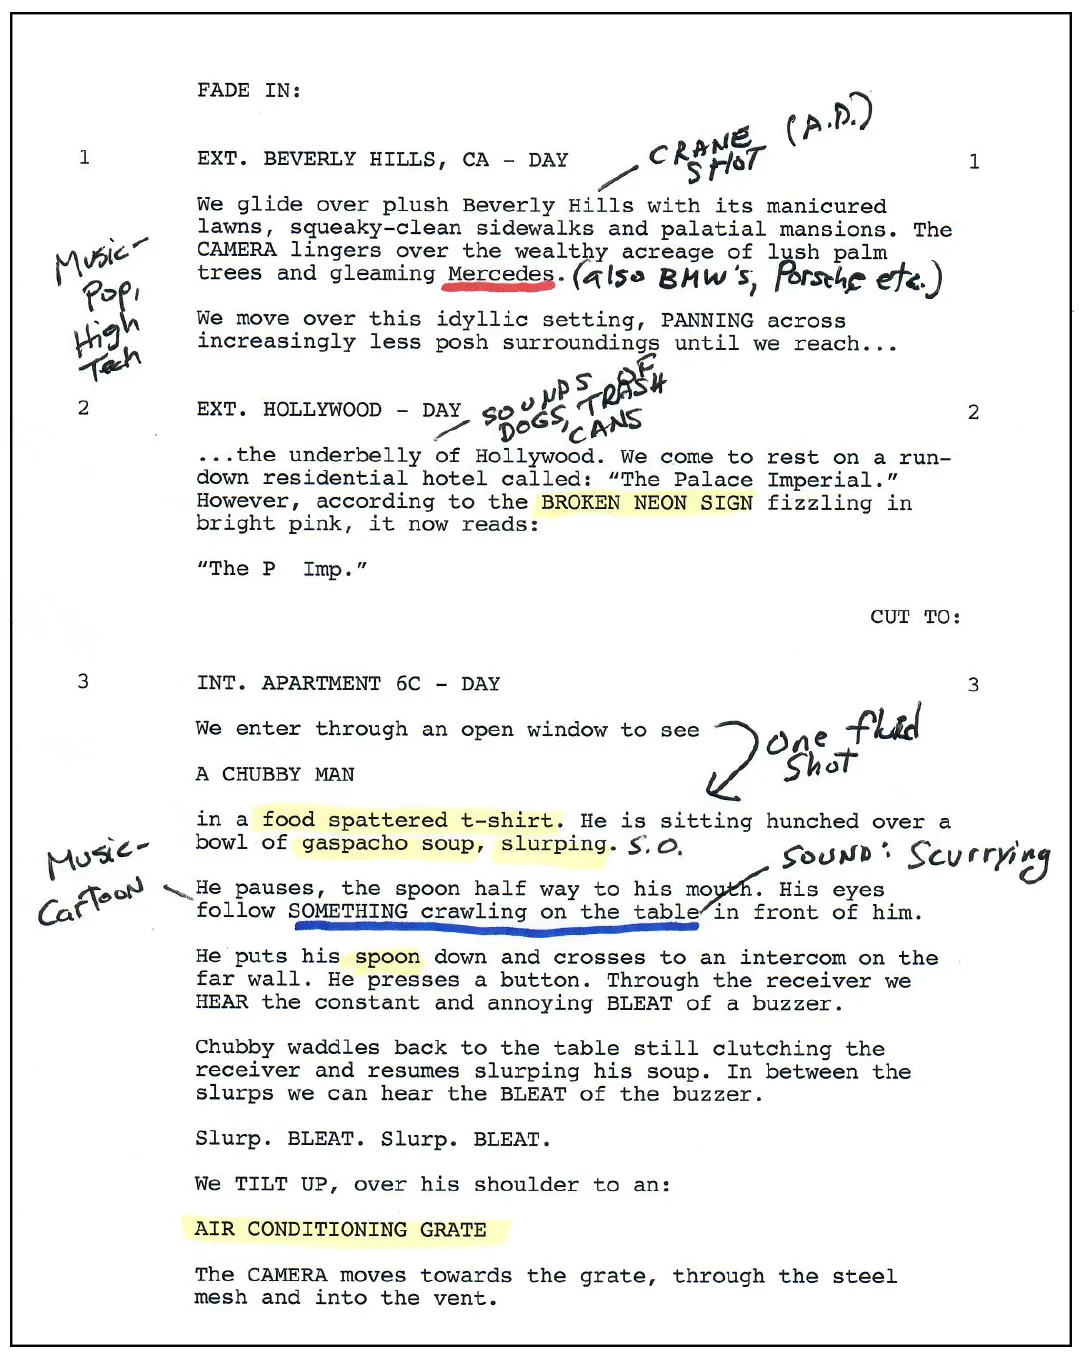
- Mark the script. Draw a line through the dialogue each setup will cover. Gaps in the lines are gaps in your edit.
What does a coverage plan look like?
Here is a worked example from a fictional short, "Last Ferry". In scene 9 (1 4/8 pages), a ticket clerk, Odile, finds her estranged brother, Tomas, asleep in the waiting room after the last boat has left. They argue about their mother's house. The turn comes when Tomas admits he already sold it.
The pre-cut on paper reads like this:
- Odile enters, sees Tomas: wide, from behind the benches.
- She wakes him, small talk about the weather: two-shot, seated.
- The argument builds: over-the-shoulder on each, back and forth.
- "I signed last week": close-up on Tomas, then close-up on Odile's reaction.
- She tears up his ferry ticket: insert on her hands.
- She leaves, he stays: back to the wide.
Grouped into setups and ranked, it becomes this plan:
| Setup | Shot | Covers | Rank | Notes |
|---|---|---|---|---|
| 9A | Wide from behind benches | Whole scene | A | Entrance and exit, safety for everything |
| 9B | Two-shot, seated | Wake up to first raised voice | B | Same direction as 9A, longer lens |
| 9C | OTS on Tomas past Odile | Argument to end | A | Facing the window |
| 9D | Close-up Tomas | From "You never asked" to "last week" | A | Same light as 9C, tighter lens |
| Turnaround | ||||
| 9E | OTS on Odile past Tomas | Argument to end | A | Facing the ticket office |
| 9F | Close-up Odile | From "last week" to tearing the ticket | A | Her reaction is the scene |
| 9G | Insert, ticket torn | One action | B | Can be shot at wrap with a small team |
| 9H | Cutaway, empty pier through window | Timing only | C | Drop if the day runs over |
Seven A and B setups facing two directions is a workable plan for a scene this size. If the day gets tight, 9H goes first, and 9B can be folded into 9A by playing the opening wider.
Which coverage approach should you choose?
There are a few standard ways to cover a scene, and choosing one early makes the setup list easier to write.
| Approach | How it works | Suits | Risk |
|---|---|---|---|
| Master and coverage | One wide master, then OTS, singles and inserts | Dialogue scenes, first-time directors, uncertain edits | Can take more setups than the day allows |
| Planned shot by shot | Only the shots in the pre-cut, no full master | Action, stylized scenes, tight days | Little room to change the edit later |
| Cross coverage | Two cameras shoot both actors at once | Overlapping dialogue, improvised scenes | Lighting both sides at once can flatten the look; sound is harder |
| Oner (single take) | The scene plays in one moving shot | Scenes with a strong physical path | Needs heavy rehearsal; one mistake costs a full take |
Many films mix approaches: master and coverage for the dialogue scenes, shot by shot for the action, one oner where it matters.
What are common coverage planning mistakes?
- Covering every scene the same way. A three-line transition scene does not need the same six setups as the film's main confrontation.
- Forgetting the overlap. Each setup should start a little before and end a little after the lines it covers, so the editor has room to cut on action.
- Crossing the line between setups. Plan all cameras on one side of the action so eyelines match. See the 180-degree rule.
- No ranking. Without A, B and C marks, the setups that get cut on the day are simply the last ones on the list, which are often the close-ups you needed most.
- Planning in isolation. If the DP sees the plan for the first time on set, the lighting order will not match it.
How does a coverage plan connect to other documents?
The coverage plan sits between the script and the shot list. Once you know your setups, you write them up as a shot list with shot sizes, lenses and movement, and sketch or generate frames for the tricky ones as a storyboard. The setup count goes to the 1st AD, who uses it to estimate how many pages you can shoot in a day. On set, the script supervisor tracks which lines each setup actually covered.
How to plan coverage with a shot list in Lowerated
If your script is in Lowerated, you can turn your coverage thinking into a draft shot list for each scene.
- Pick the scene. Choose it from your screenplay.
- Describe how you see it. Write your pre-cut in plain words: where the turn is, whose scene it is, which moments need to be tight.
- Get a draft shot list. It comes back with shot types, framing and movement.
- Refine it with your DP. Add your A, B and C ranks, merge shots that share a camera position, and reorder for the turnaround.
The clip shows a scene picked, described, and turned into a draft shot list with shot types, framing and movement that the director and DP then refine.
FAQ
How many setups should I plan per scene?
Enough to cut every line in one good way, plus a second option on the turn. A short transition may need one setup; a key dialogue scene may need six or more.
Should I always shoot a master?
No. A master is a useful safety net, but for action or tightly designed scenes a planned shot by shot approach can save time. Decide per scene.
When should coverage be planned?
Before the tech scout, so the DP and gaffer can check camera positions and lighting at the real location.
What is the difference between a coverage plan and a shot list?
The coverage plan decides which setups you need and why. The shot list records each shot's details, such as size, lens and movement, for the crew.
Key takeaways
- Find the turn and decide whose scene it is before choosing any shots.
- Pre-cut the scene on paper, then group shots into setups by camera position.
- Rank every setup A, B or C so the right ones survive a long day.
- Shoot one direction completely, then turn around.
- Share the plan with the DP and 1st AD before the tech scout.